In the initial stages of this Unit of my artistic process, I sought to build upon my previous exploration of merging three-dimensional sculpture with two-dimensional painting. However, I was determined to avoid the conventional methods, techniques, and materials I used. This led me to conceive a novel approach: transforming two-dimensional lines into three-dimensional forms.
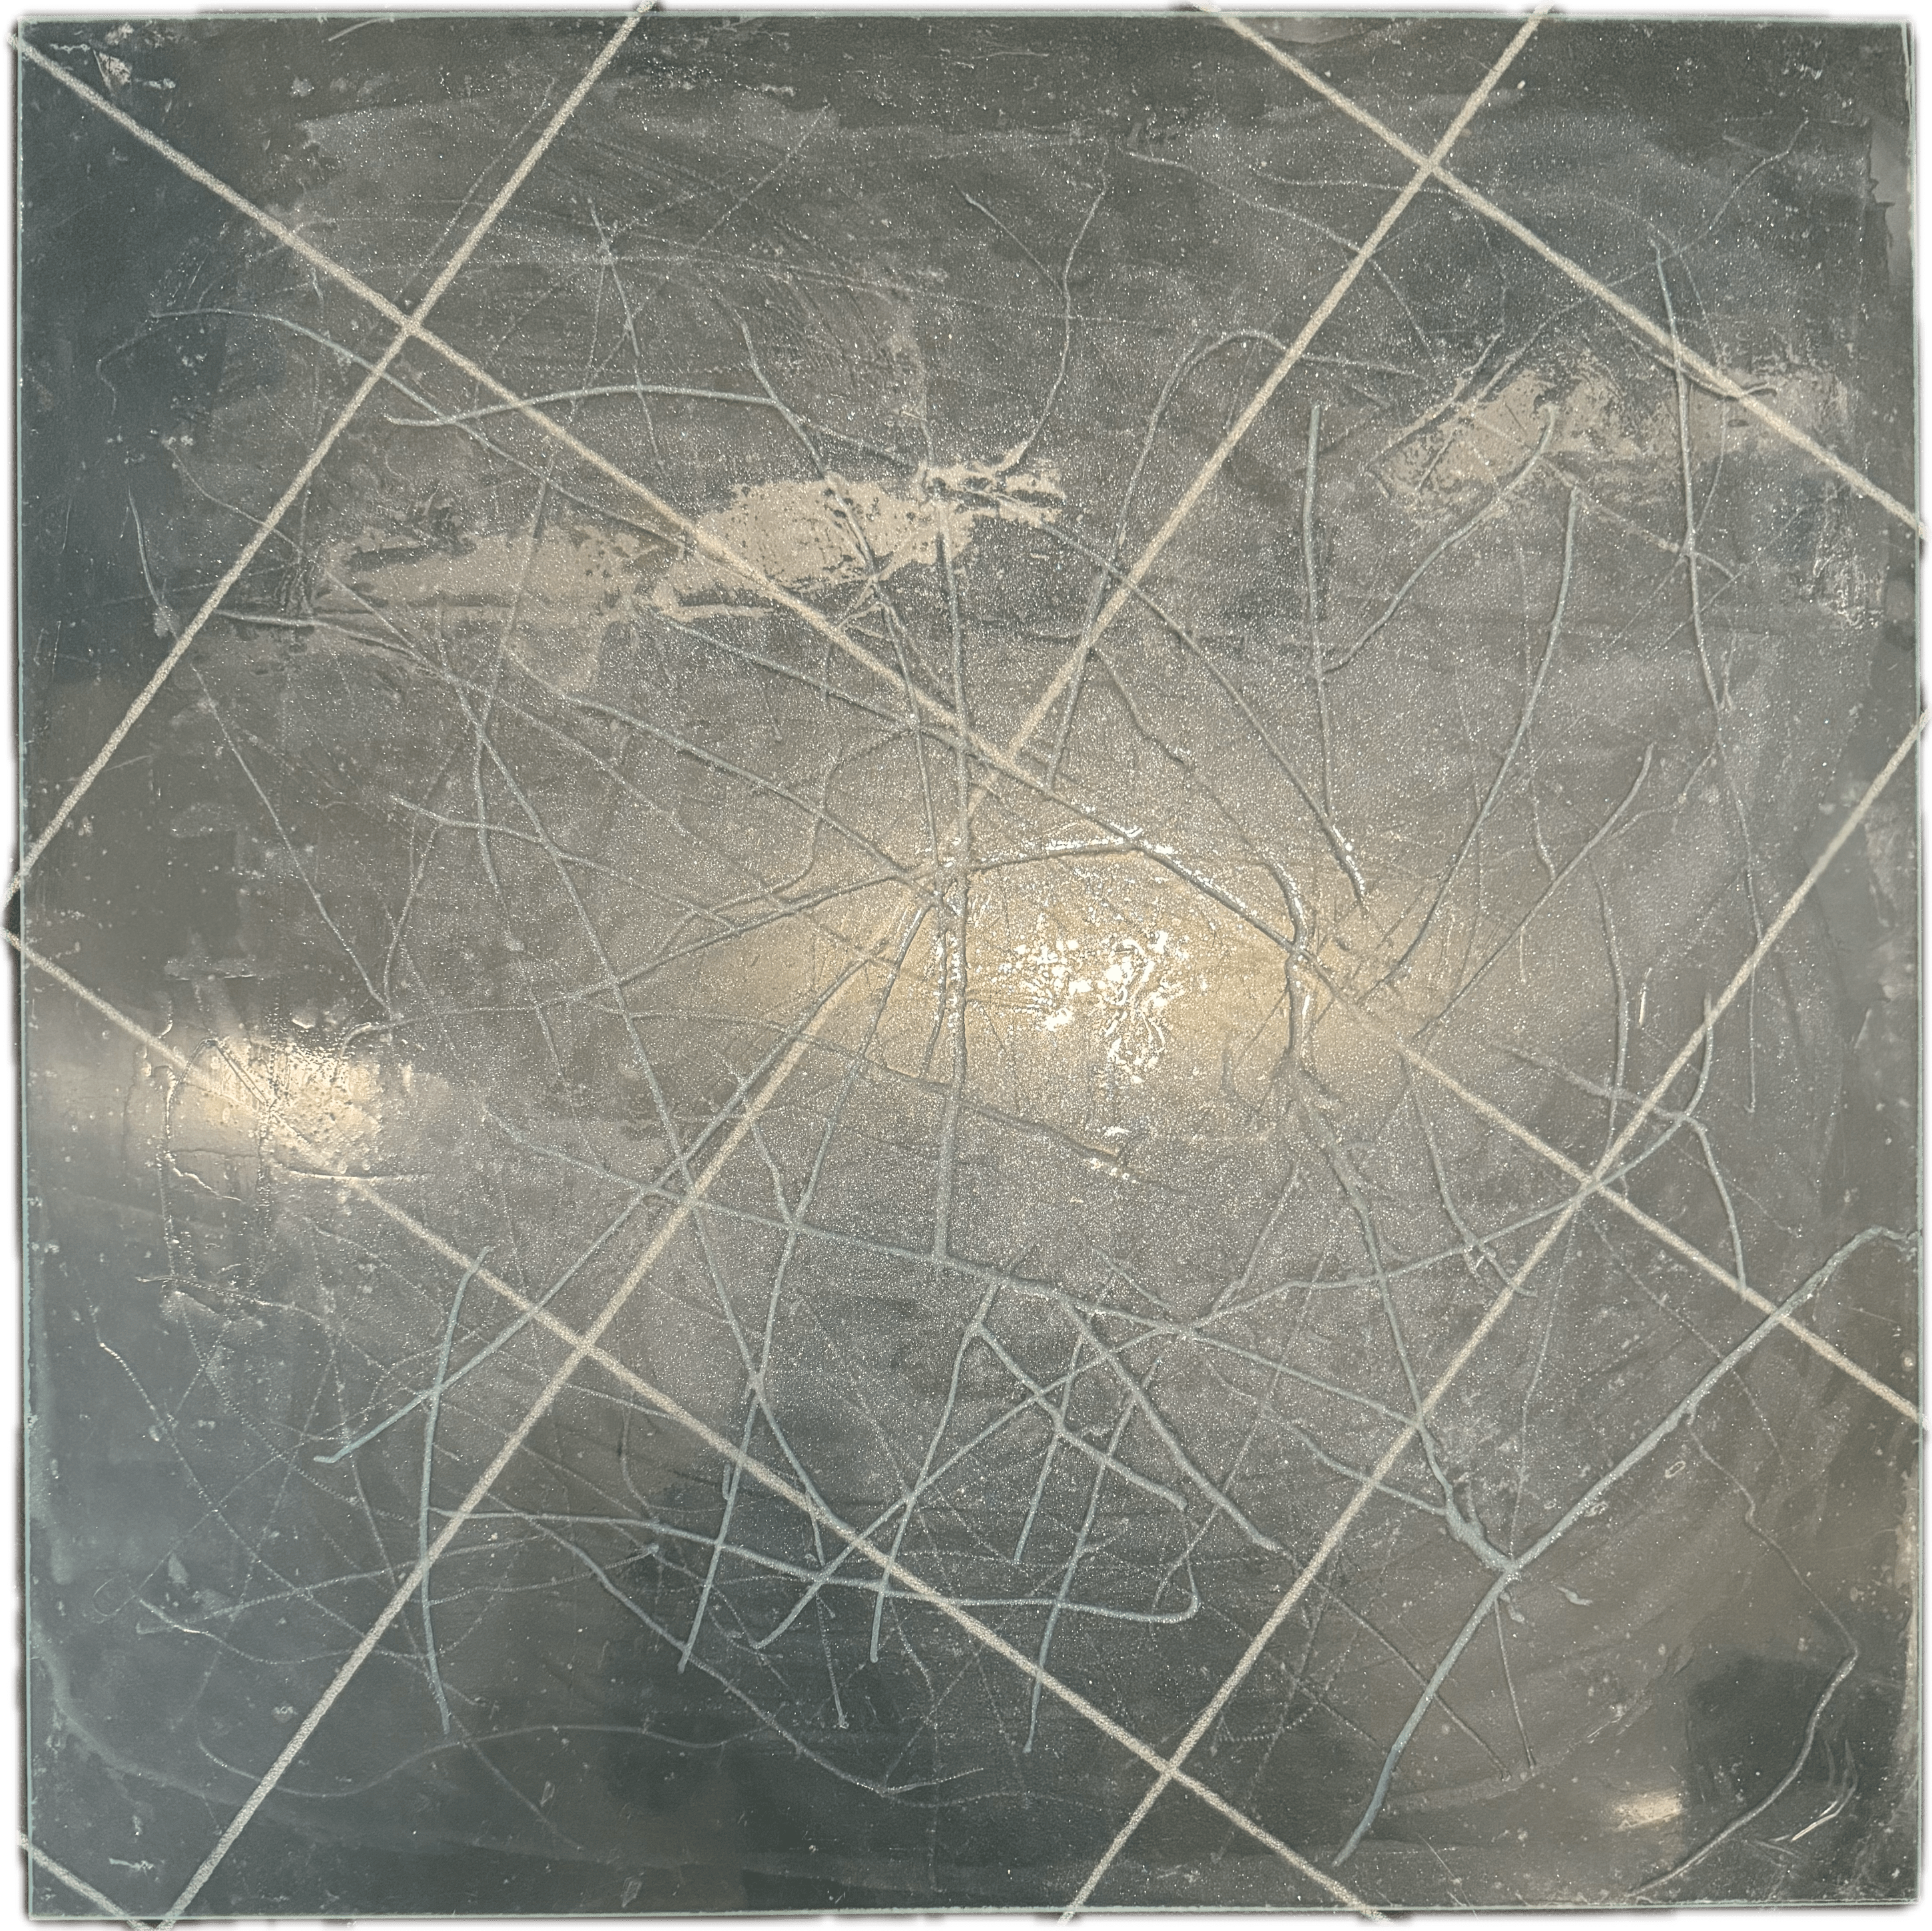
I began experimenting with an acrylic sheet to bring this vision to life. Using a router, I carved grooves into its surface. These grooves introduced a striking sense of depth and transformed the once-flat, two-dimensional material into a dynamic interplay of light, shadow, and texture.
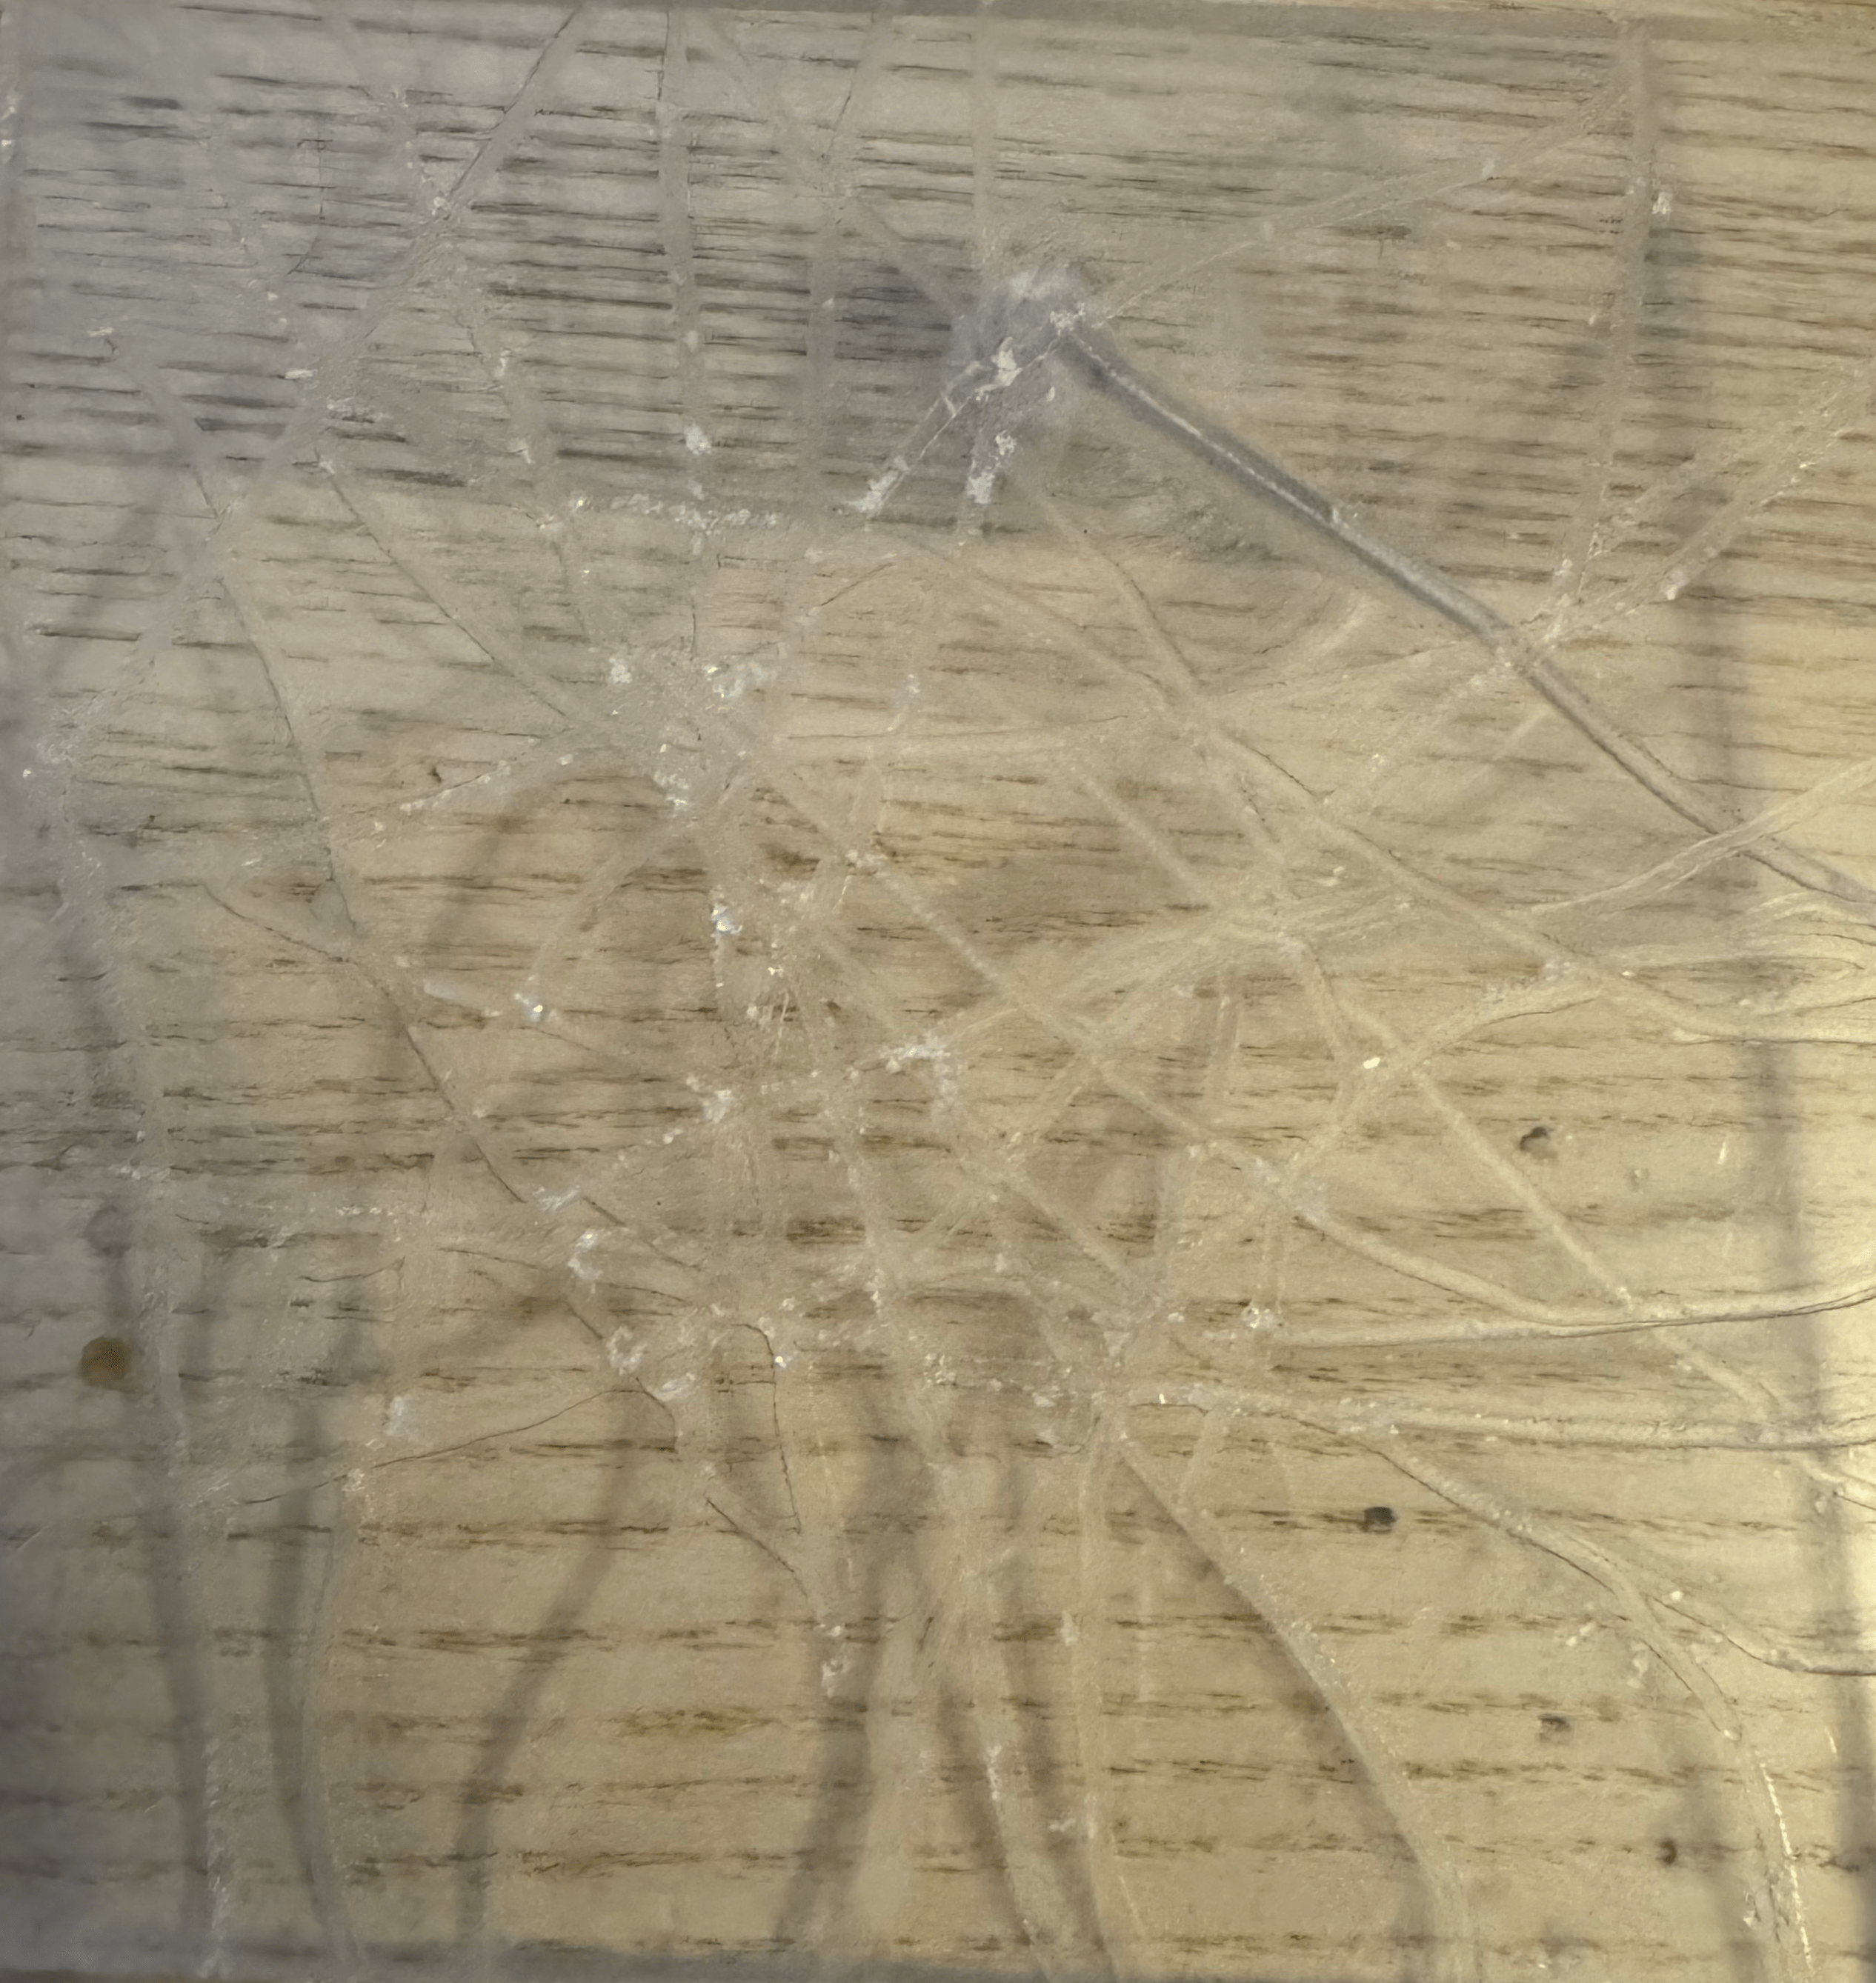
After creating the grooves with a router, I filled them with a resin that has a very light color. The resin differs in translucency from the acrylic. Once I sanded the acrylic sheet with a sanding machine, the varying degrees of light transmission between the two materials created an intriguing interplay of light and shadow, making the combination of these materials quite fascinating.

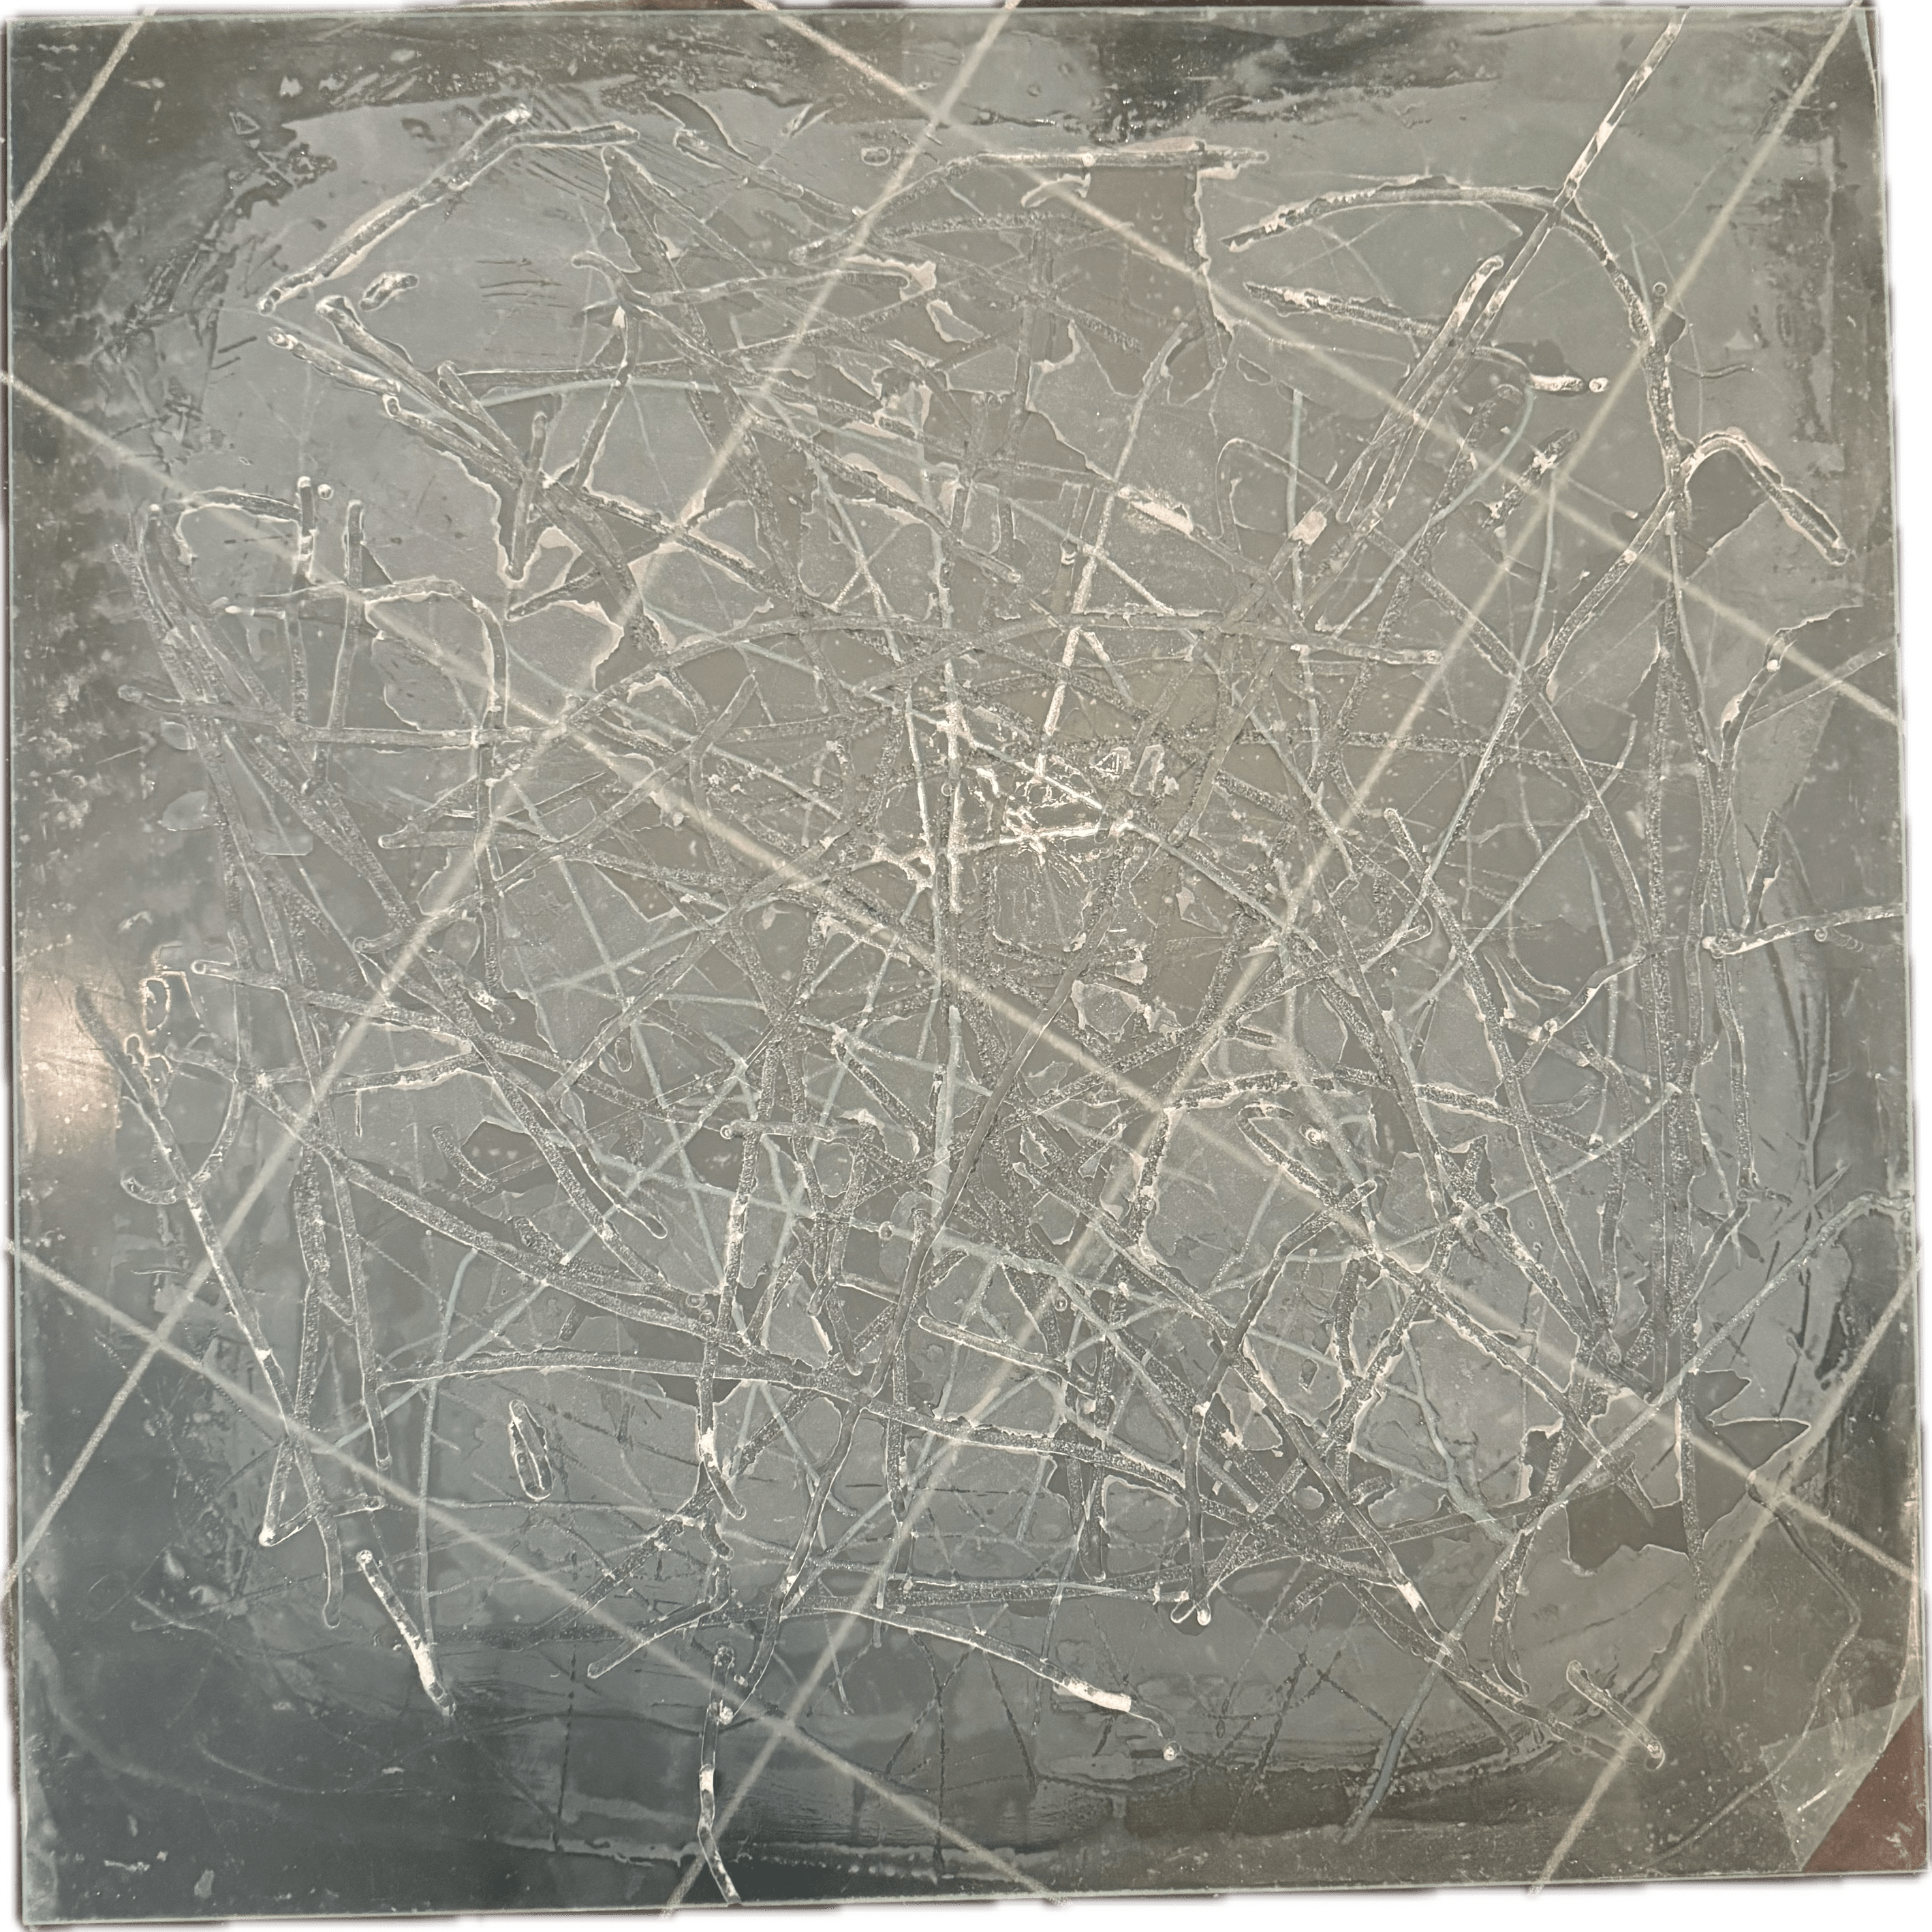
Following the previous process, I used the router again to create new grooves, but this time I varied the width of the grooves, not limiting them to a single size. I employed a Rotary Tool to shape the grooves into a range of widths, mimicking the natural variance found in rivers. This was an experiment to see what new effects could be achieved.
I also filled these grooves with a type of resin that is less transparent. Afterwards, I attempted to polish the acrylic. However, I found that once sanded with a sander, it was challenging to restore the acrylic to a highly reflective, mirror-flat finish. The acrylic retained a matte appearance, whereas the resin, being easier to polish, became more reflective.
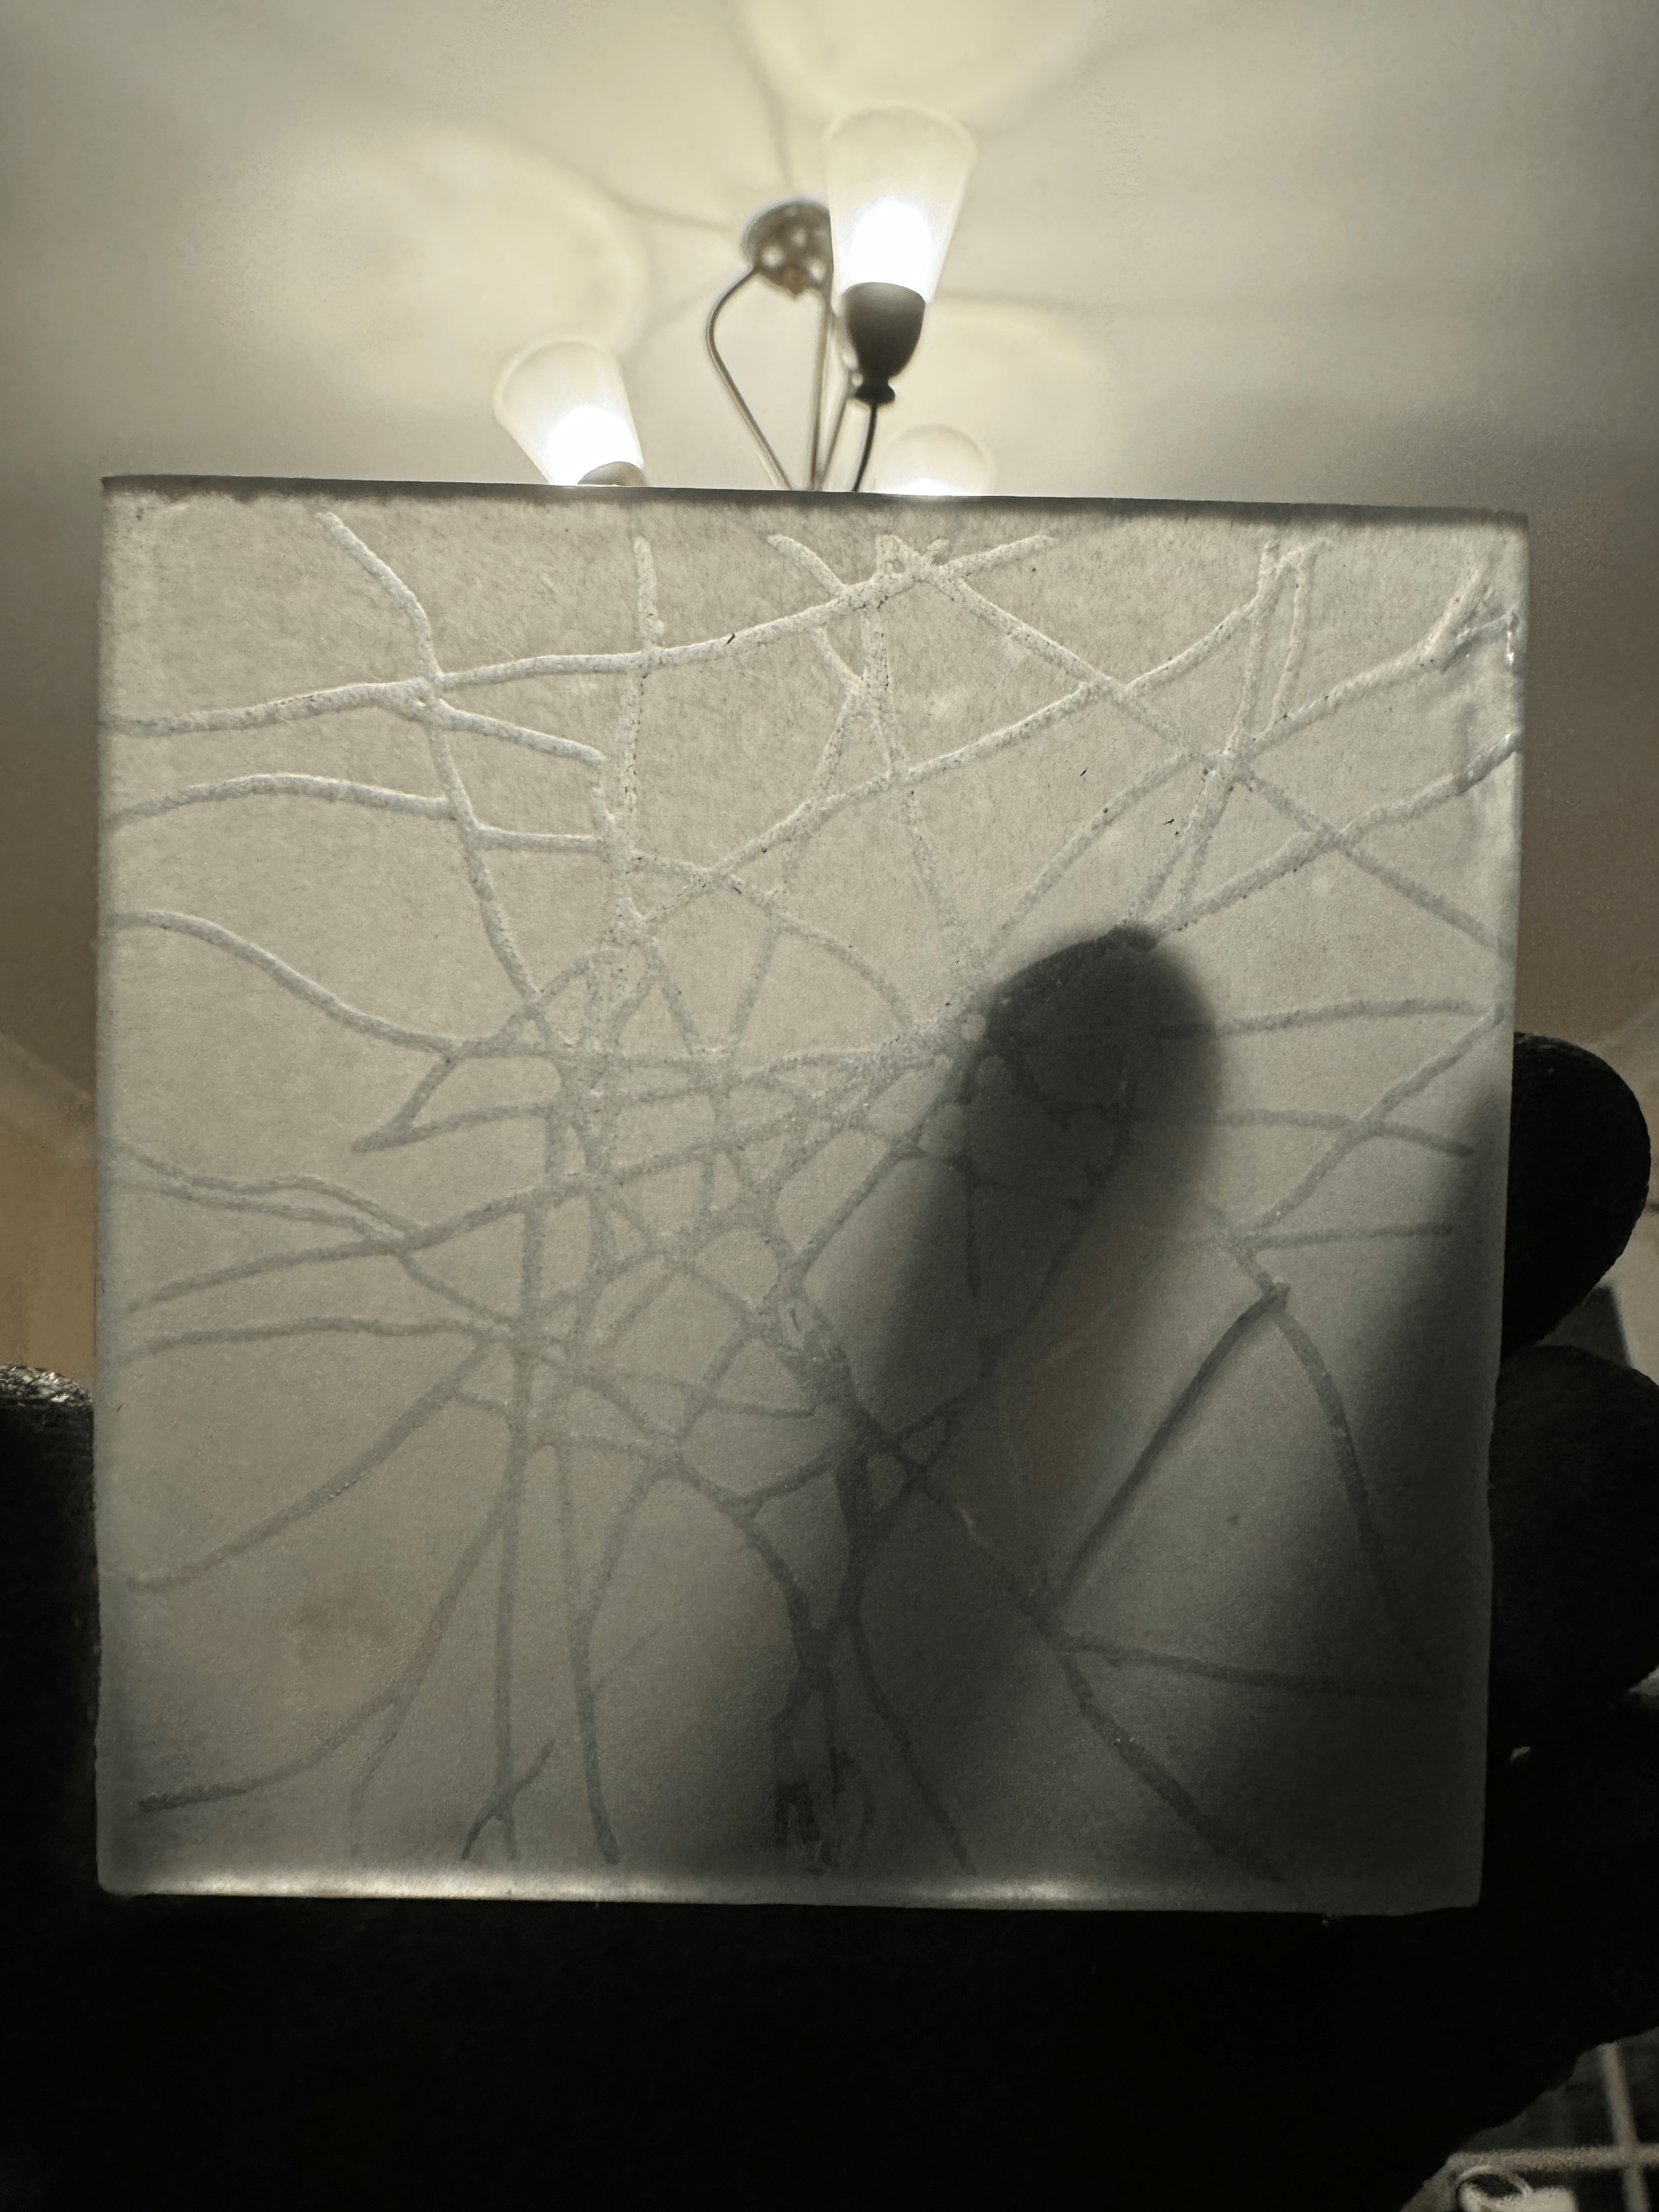
Additionally, I discovered that to best present the 3D effect of the lines, it’s preferable not to sand the acrylic sheet. Instead, keeping the unprocessed side transparent allows viewers to observe the three-dimensional grooves and resin more effectively when looking through the other side of the acrylic.


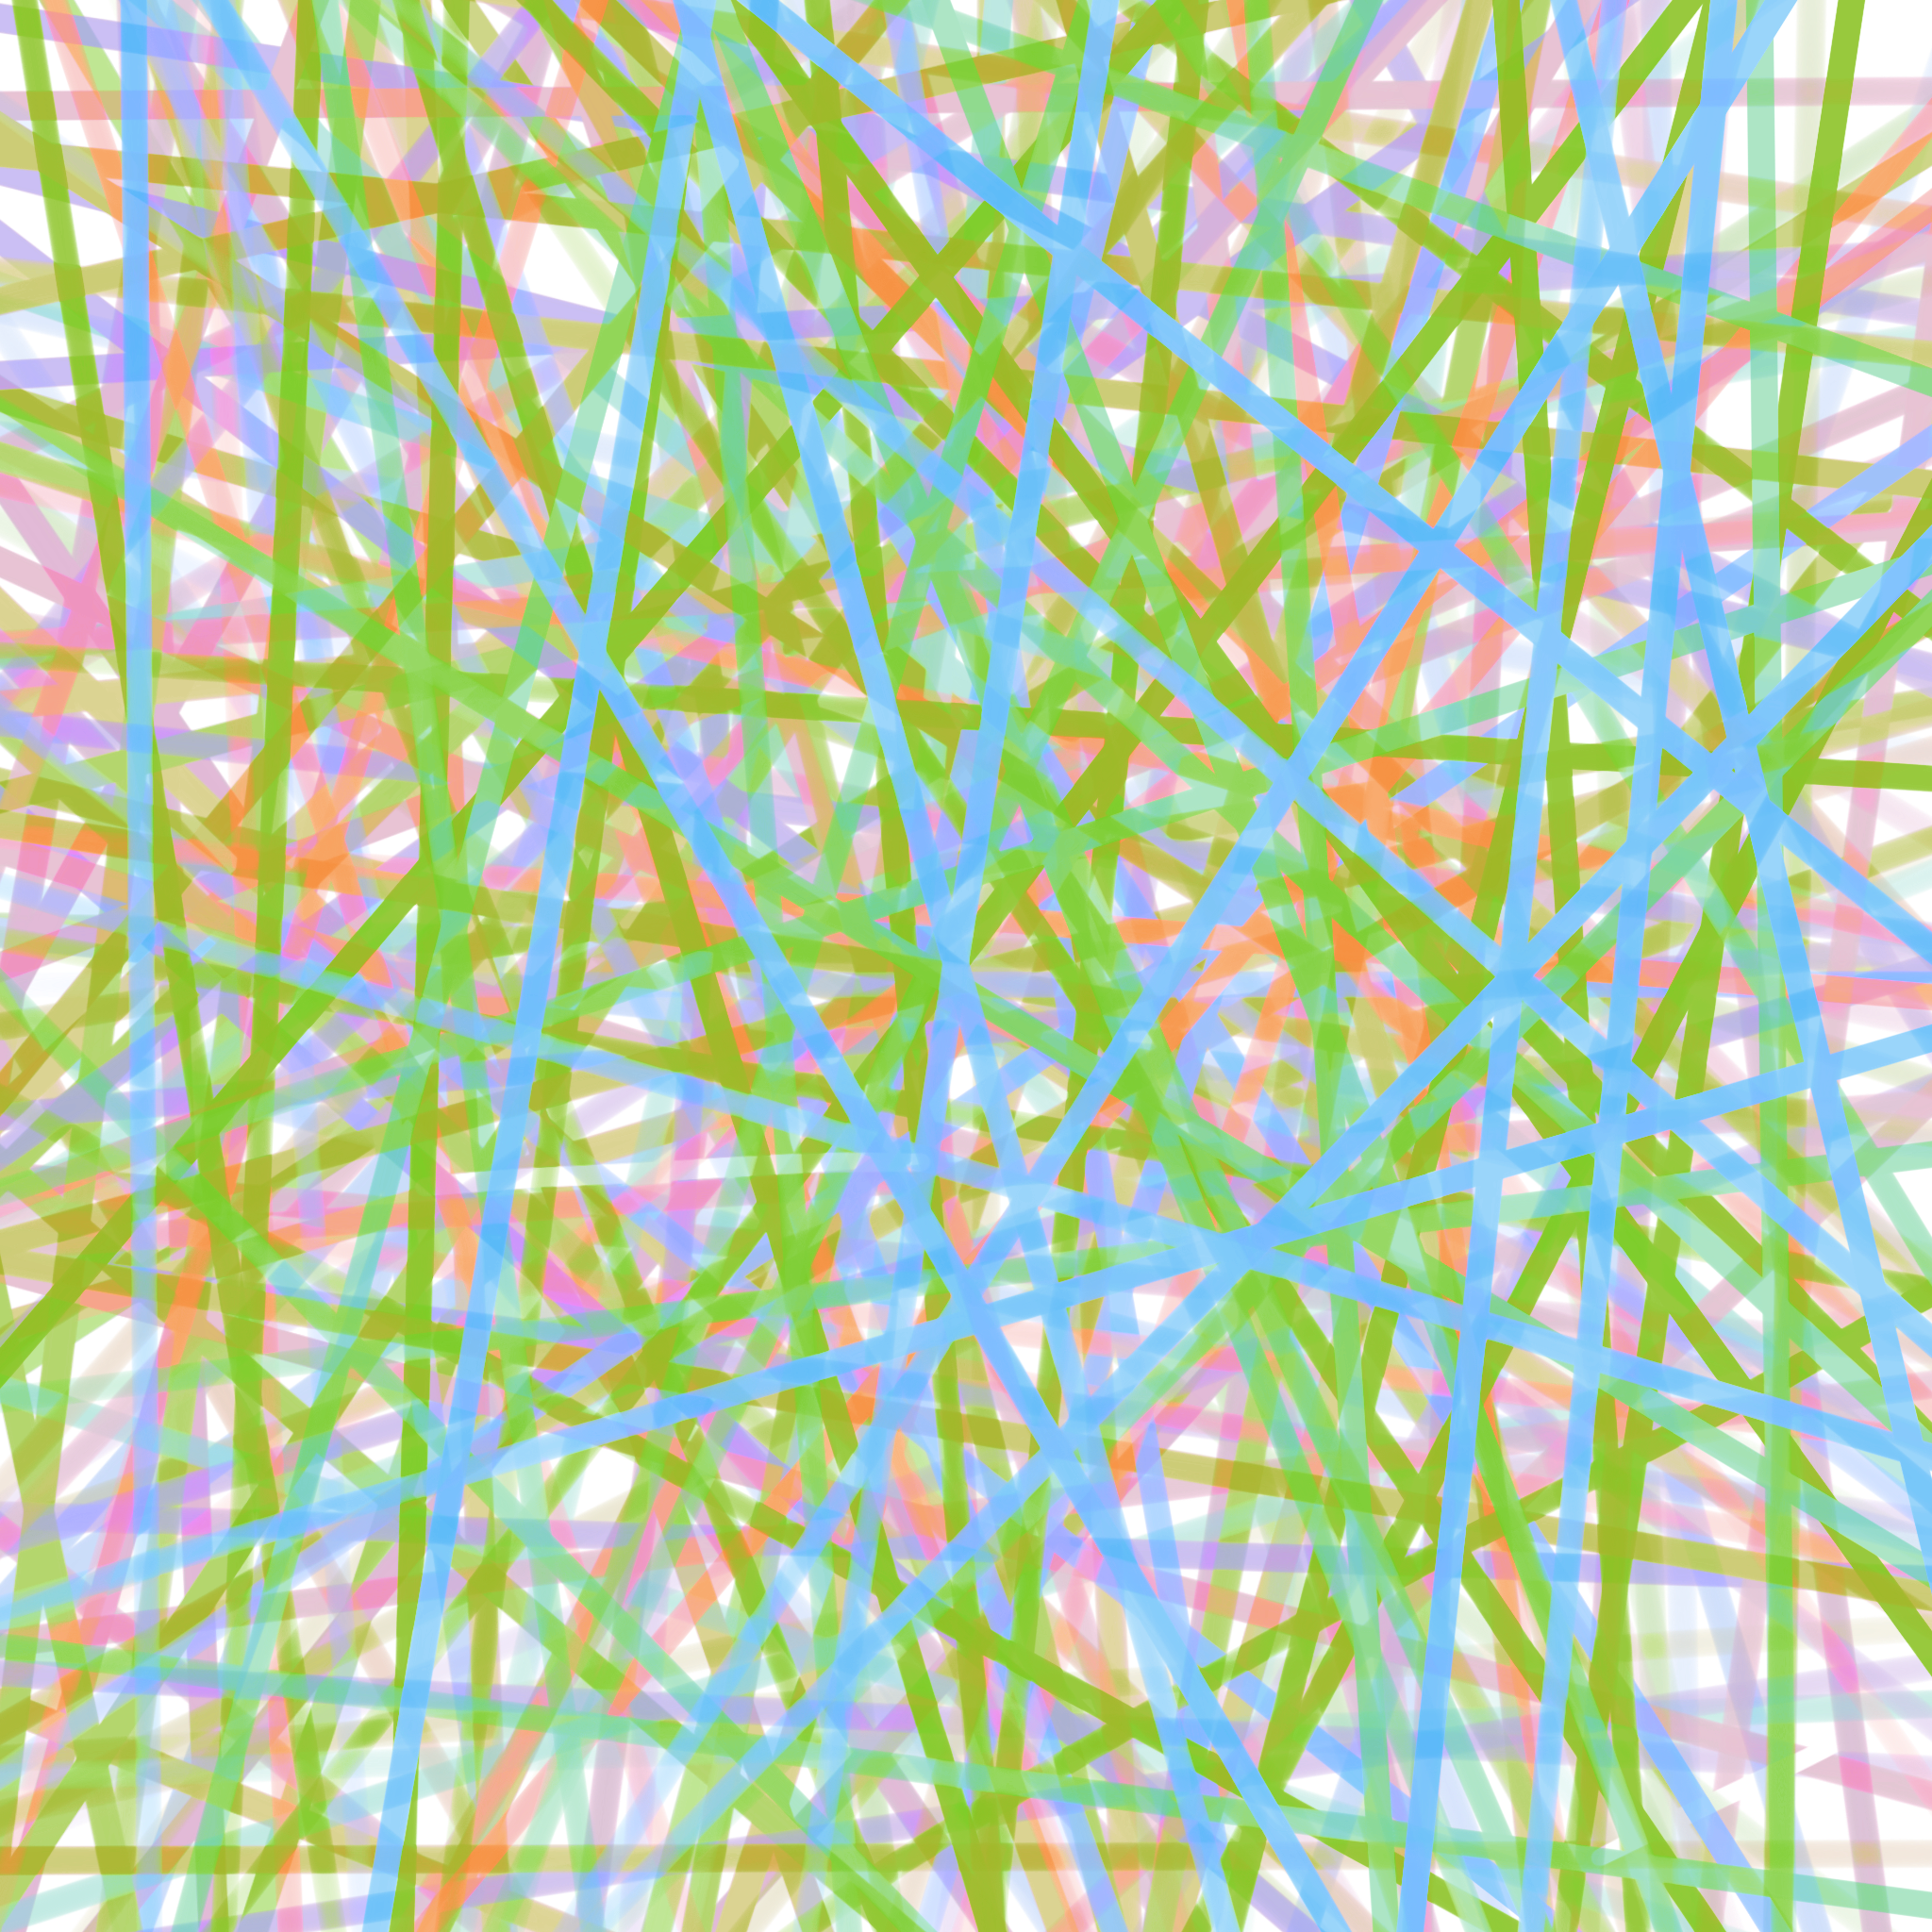

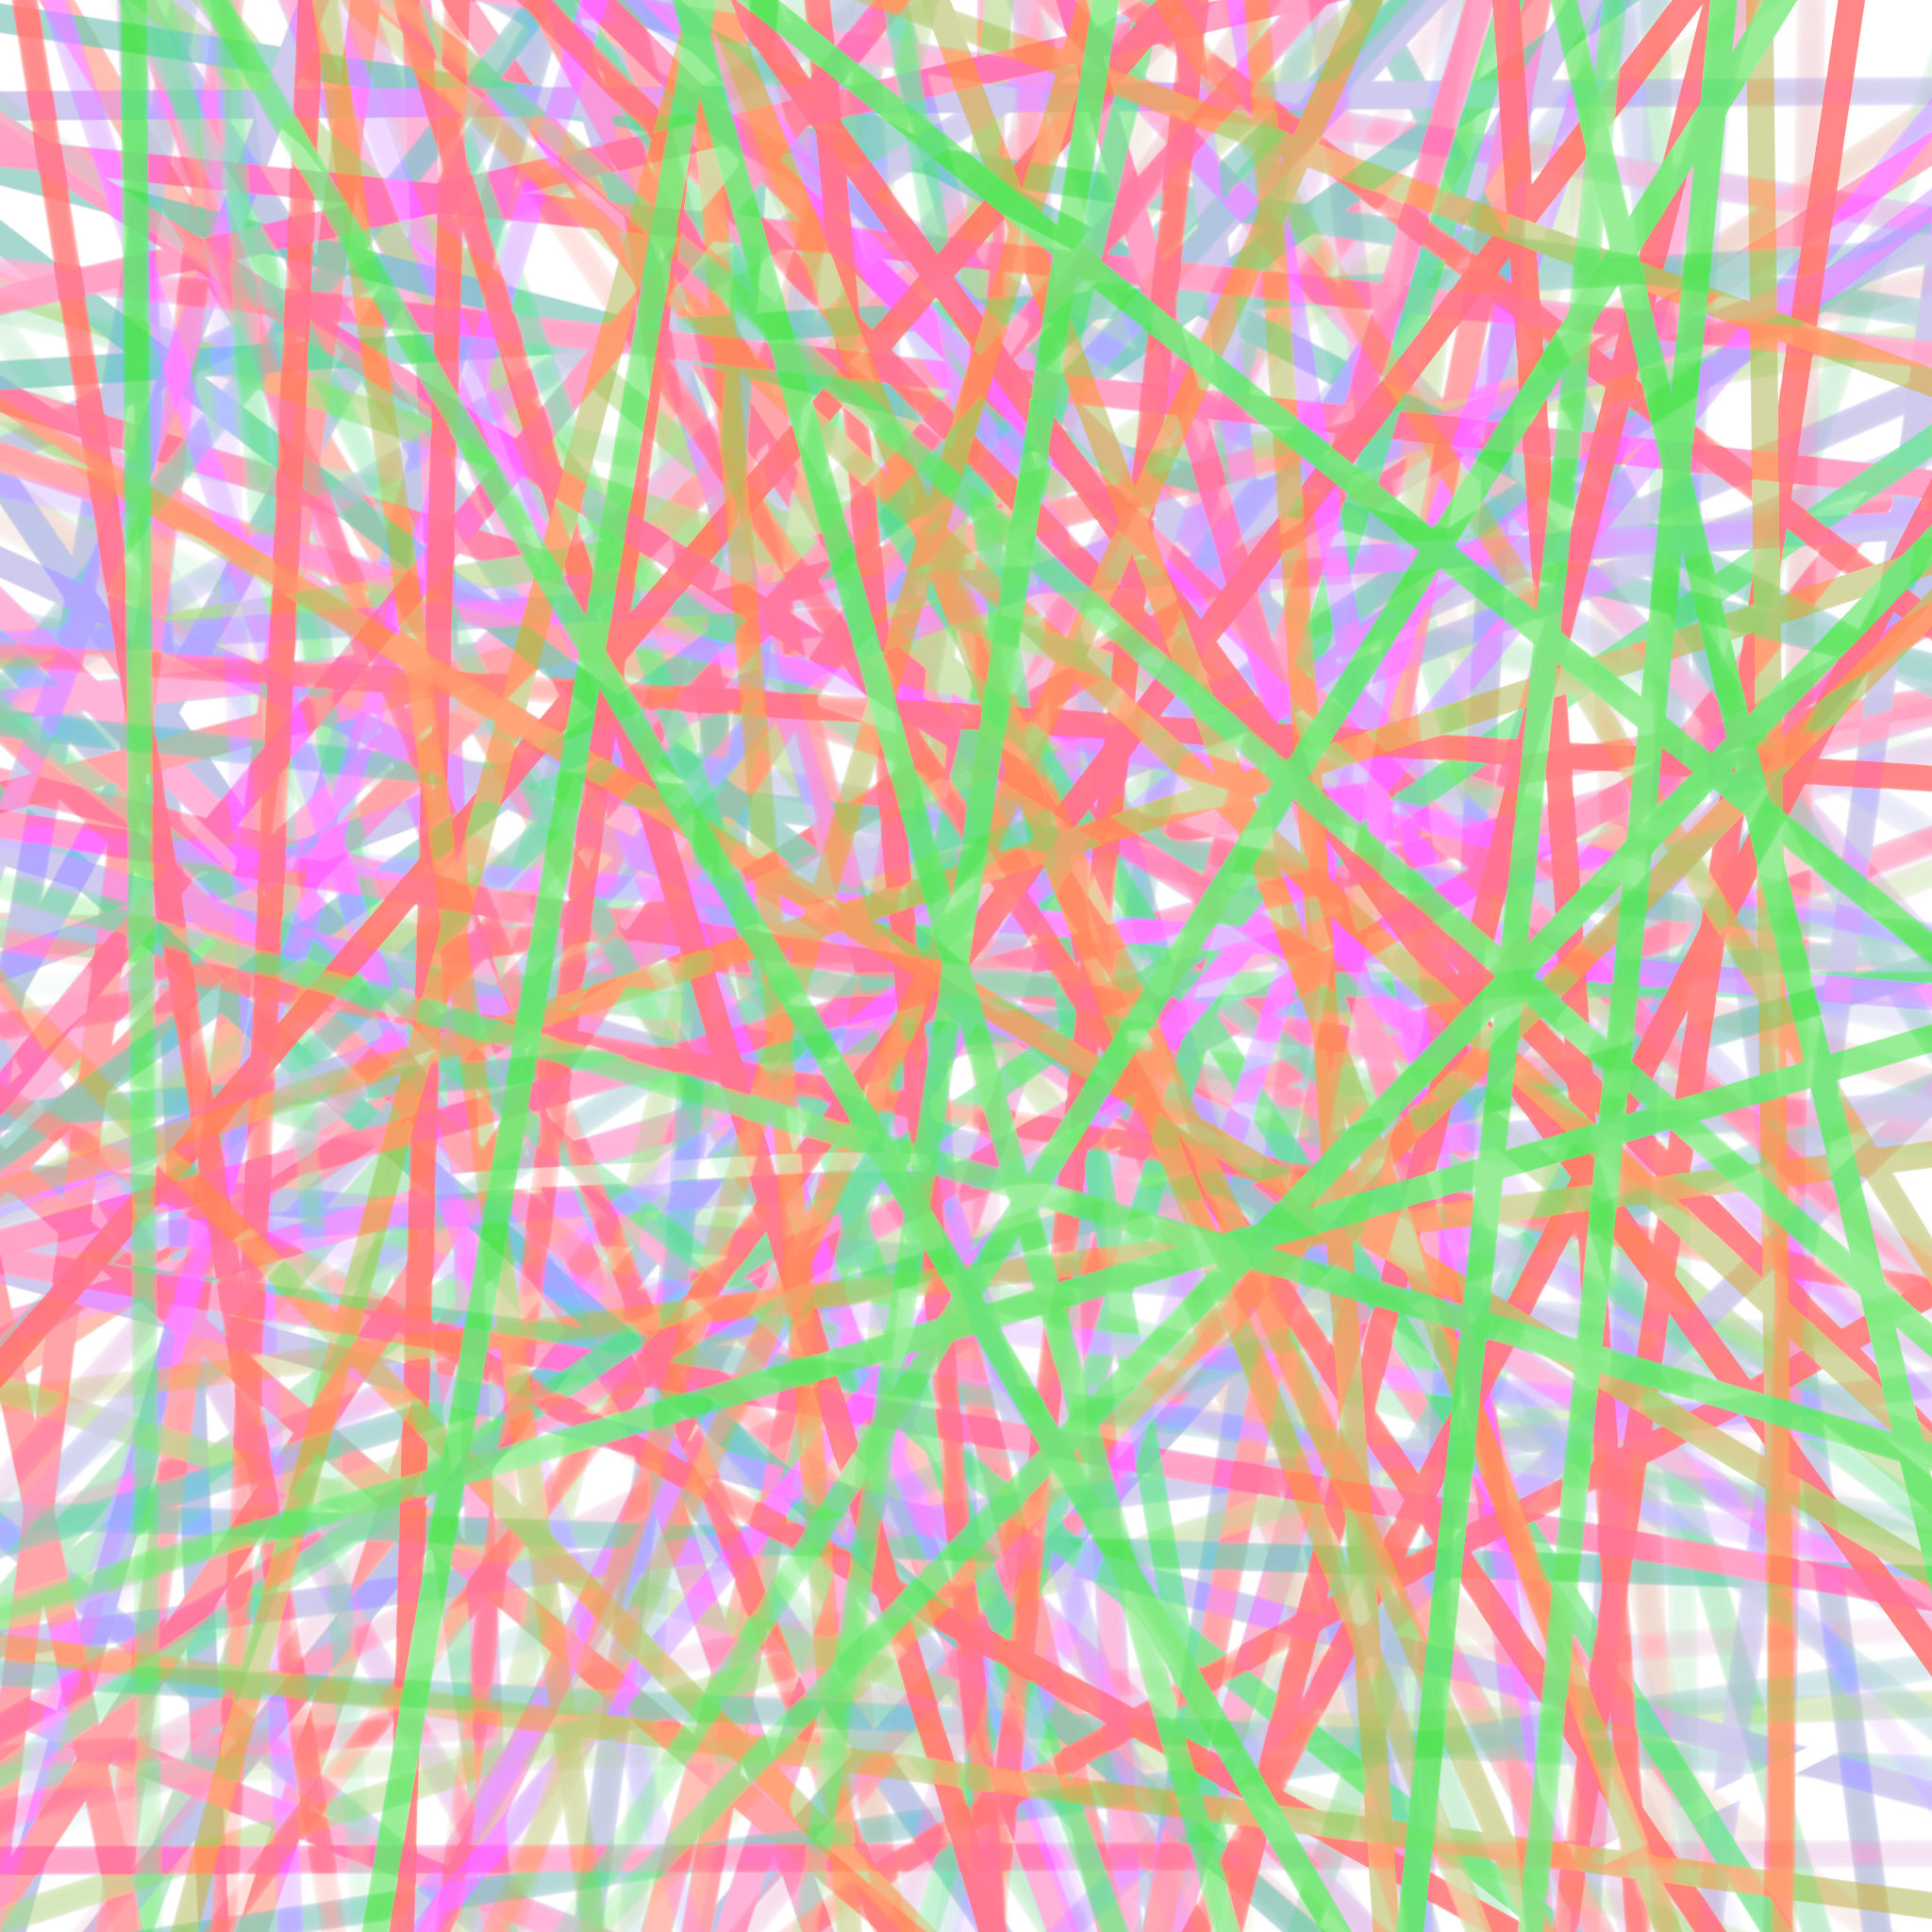

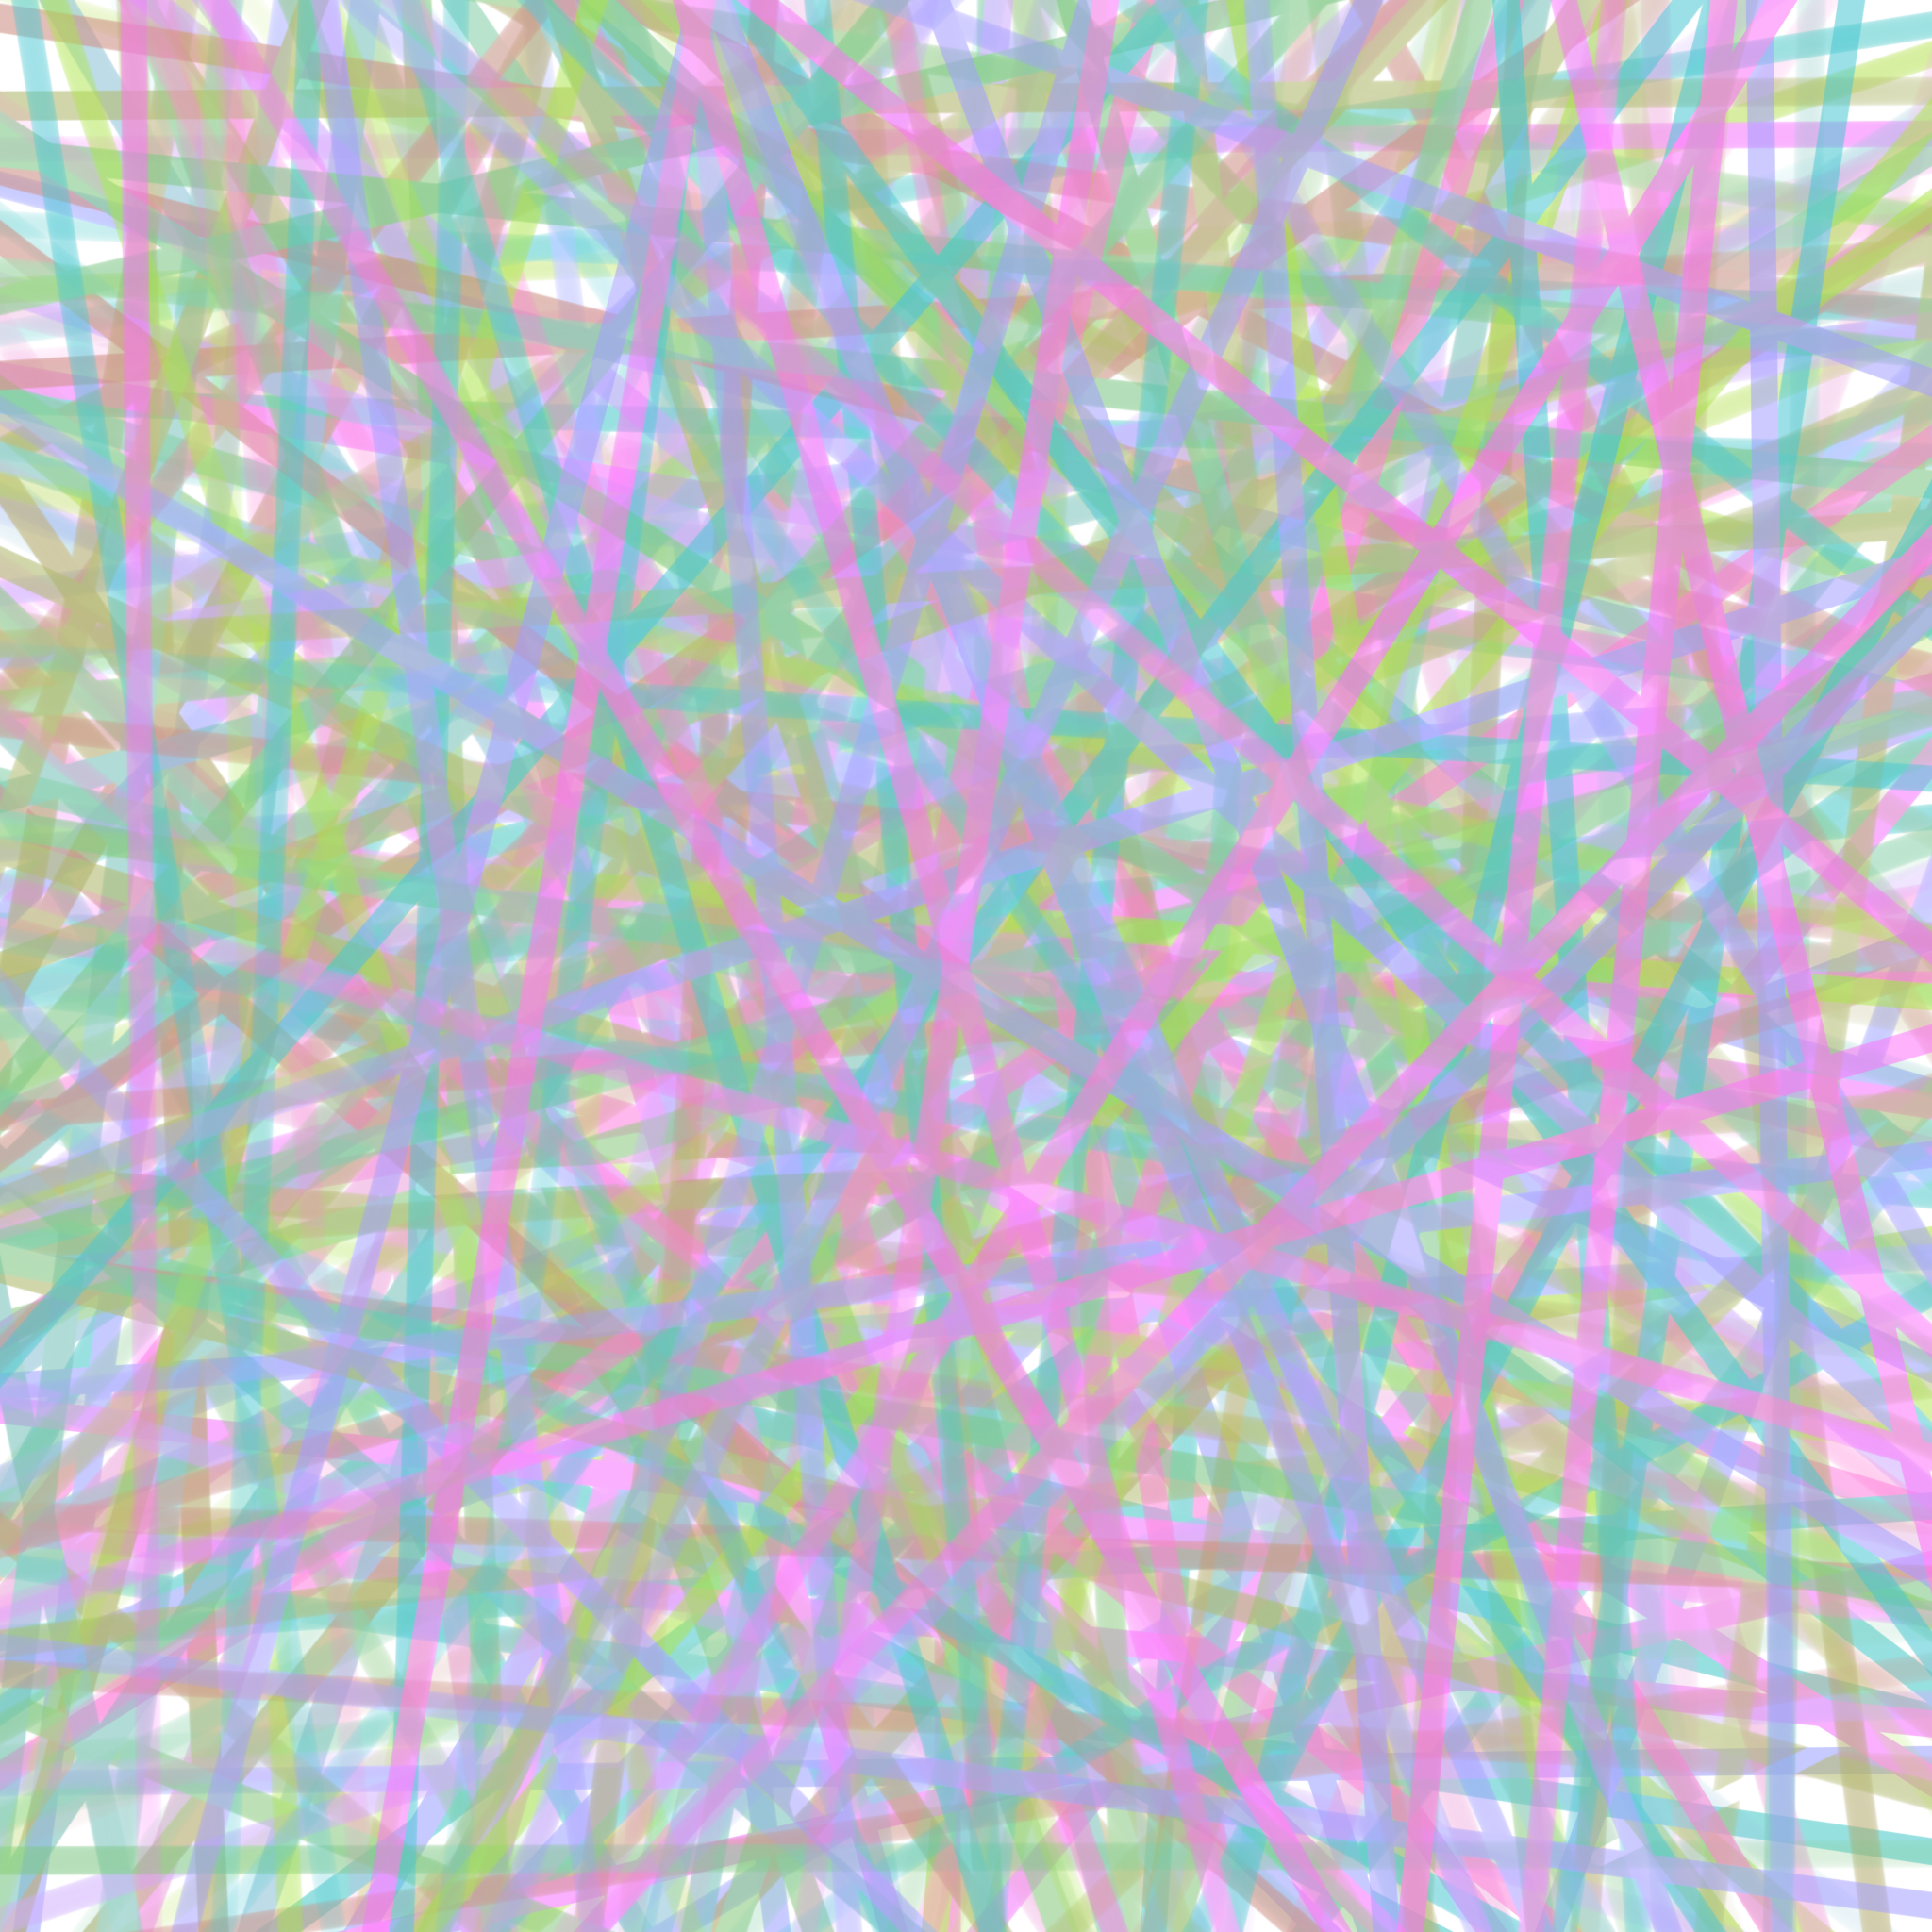
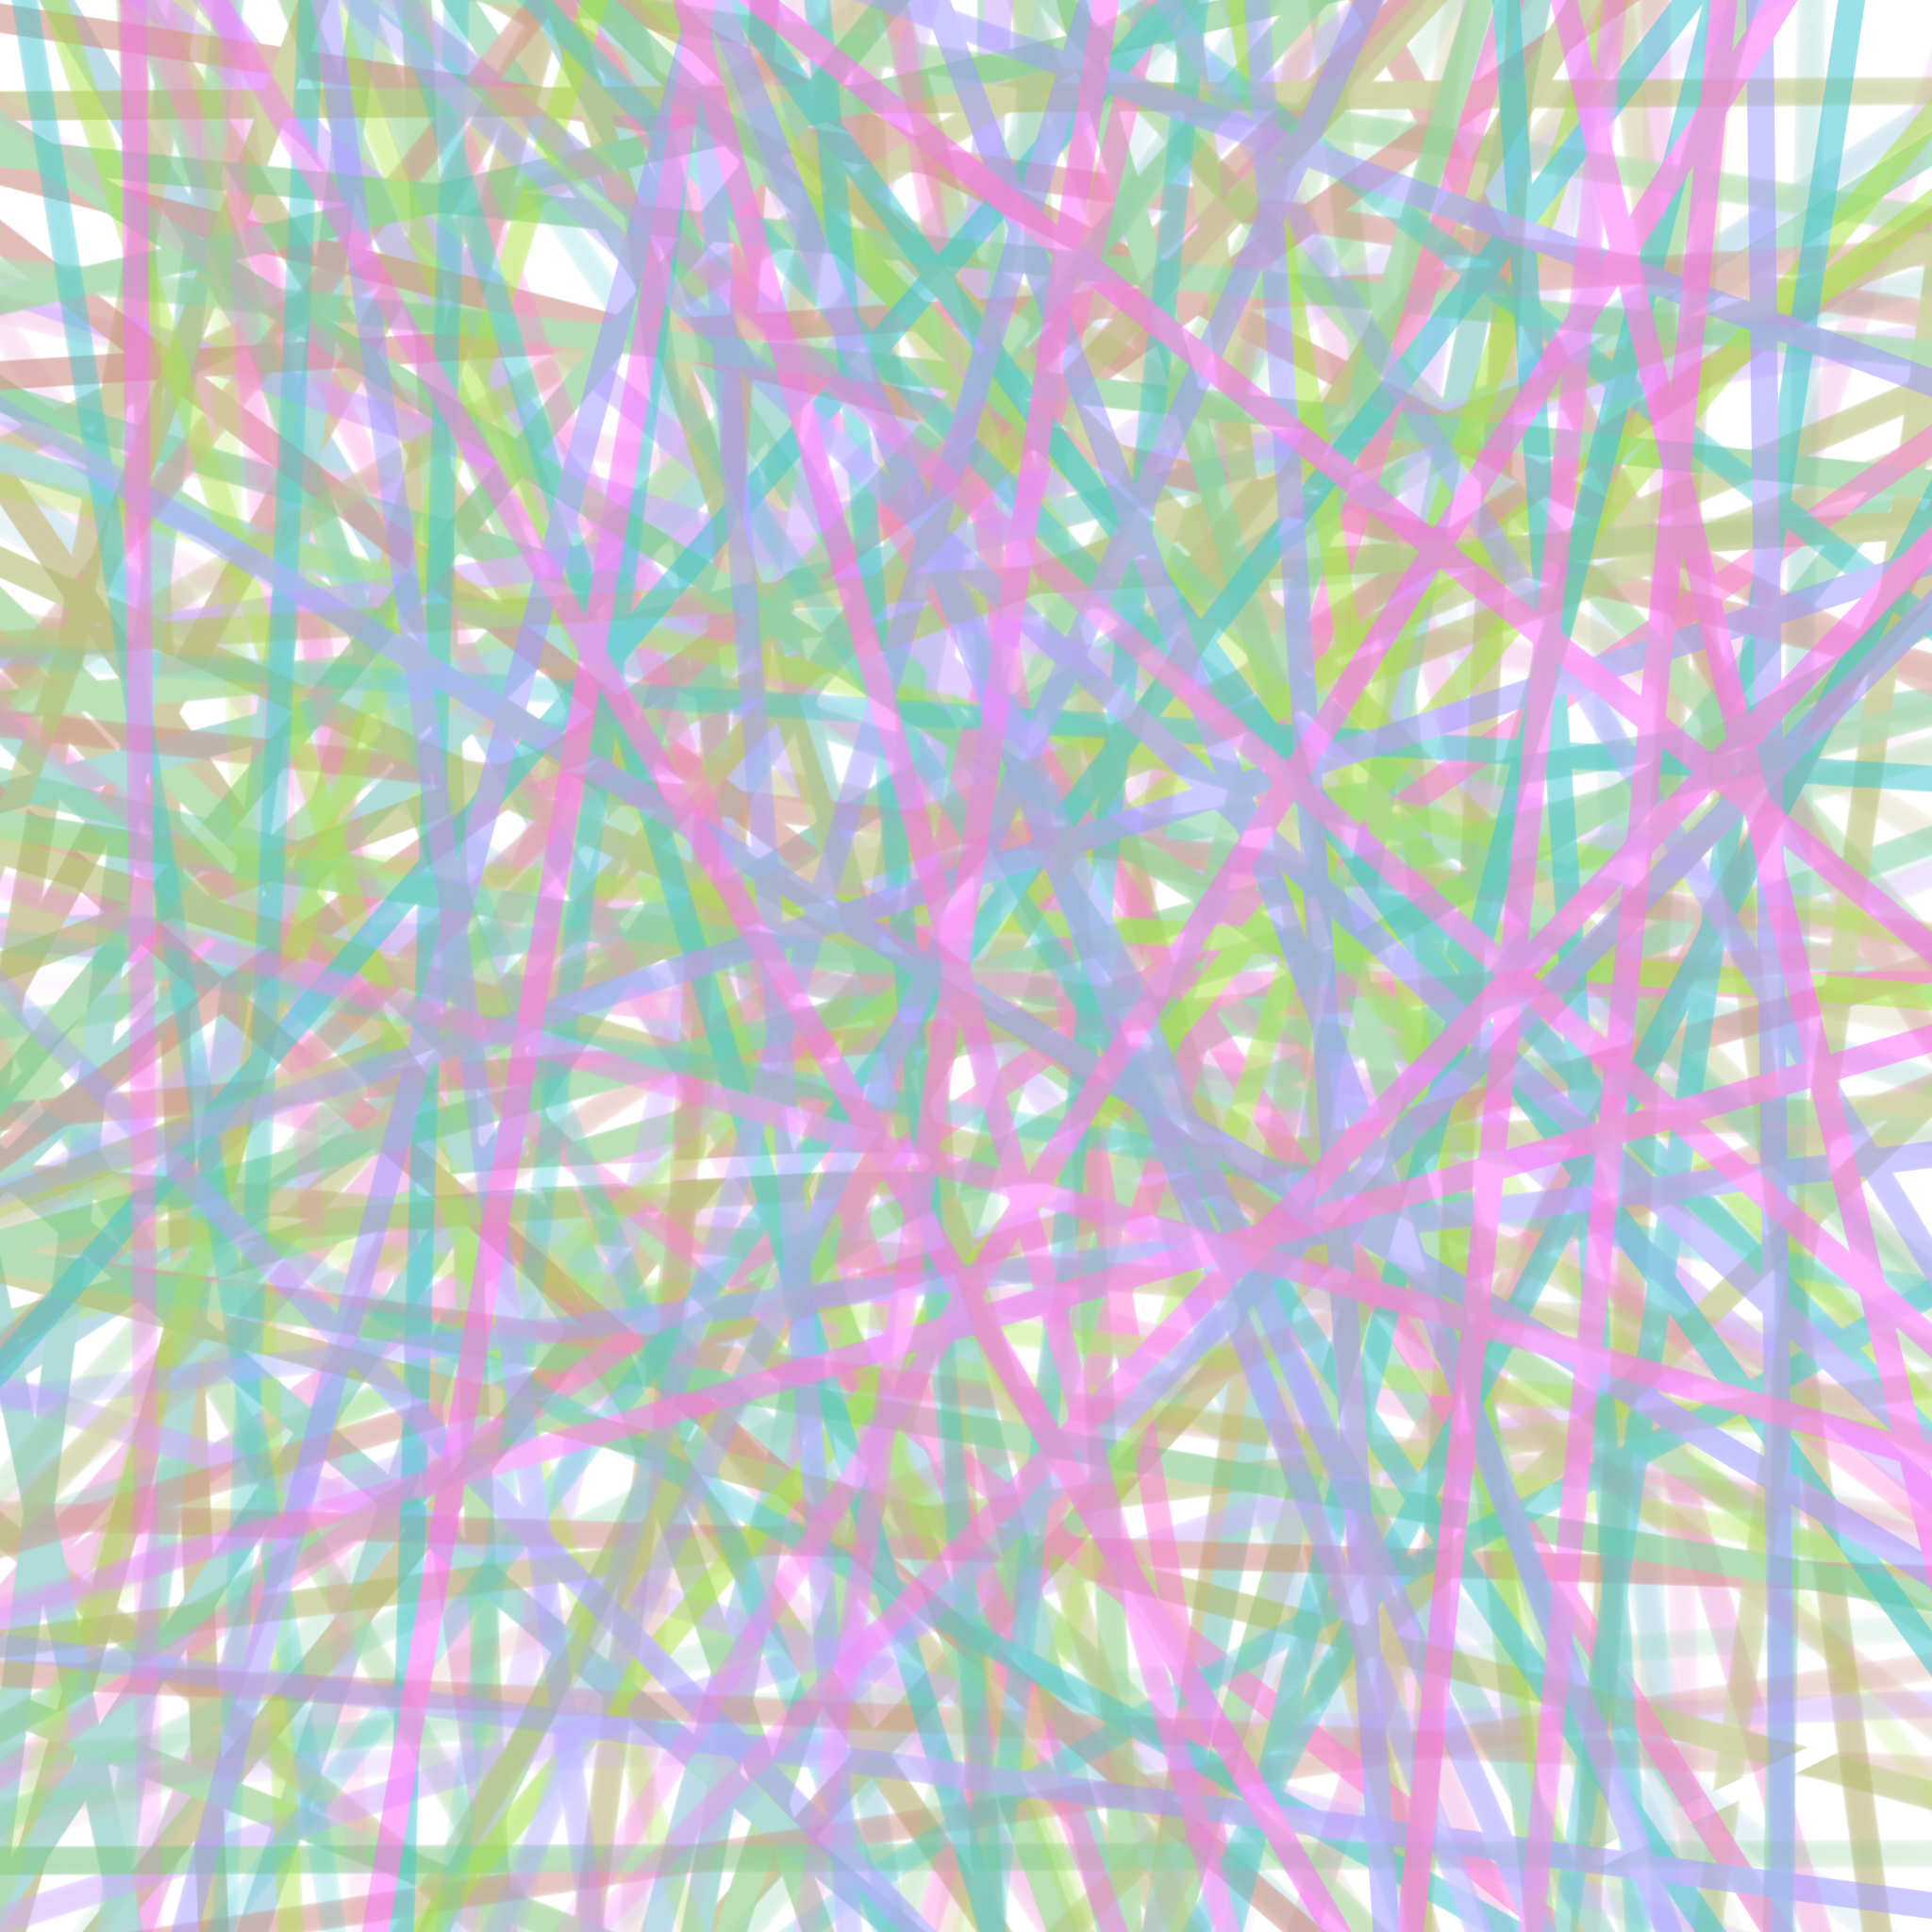
These images serve as color references for my artwork. I used Photoshop to initially draw the overlapping effect of these colored lines. The process involved experimenting with different ways to blend and integrate the colors to achieve a harmonious and visually appealing result. The goal was to find a method that would best capture the essence of the colors and their interaction, creating a dynamic and vibrant composition.
So far, I have completed all my preliminary experiments and begun creating my artwork on a larger 60 cm x 60 cm acrylic sheet. I recreated the first two steps I tested earlier, but on a larger scale: using a carving machine to etch grooves into the acrylic, followed by filling them with a light-coloured transparent resin. This time, however, I left the protective film on the other side of the acrylic to preserve a flawless, scratch-free mirror finish.
Next, I used a thicker milling cutter to create wider grooves on the acrylic board. I found that sanding the acrylic surface after each resin curing session works best. This smooths the surface, facilitating further groove creation and ensuring even resin flow. However, a new issue emerged: the heat from routing caused some acrylic dust to melt and stick to the grooves. I tried various methods to remove the residue, but it proved difficult. Eventually, I smoothed the surface with a sanding tool and polished the grooves with a small cloth polishing wheel. This effectively removed the melted acrylic dust from the grooves. Removing these particles was crucial, as they could disrupt the consistency of the resin-colored lines.

This image represents the effect of repeating the aforementioned process several times. I noticed that due to the difference in hardness between the acrylic and the resin, and the initial lack of roughening the acrylic surface to enhance adhesion, some of the resin that seeped from the grooves did not adhere well to the acrylic. It formed semi-transparent, flaky layers that appeared as if they could be peeled off. This might also have been caused by the heat generated during the polishing after each resin curing session.
To address this issue, I decided to modify my approach. After each resin curing, I reduced the depth of sanding, leaving a certain thickness of the resin layer intact. This change aimed to improve the adhesion of the resin to the acrylic and to maintain the integrity of the resin layer, preventing the formation of flaky, removable layers.

Next, I tried placing masking tape around the edges of the acrylic sheet to reduce resin overflow. This allowed me to use more resin, spreading it beyond just the grooves. After routing the grooves, I spread resin across the entire acrylic surface using a spreader. The first resin layer was a lighter color. Then, I dropped highly diffusive dye onto the surface, letting it spread naturally. For this piece, I started with a transparent pale yellow resin, followed by red, highly diffusive dye. The resulting diffusion and penetration effects were mesmerizing.

This image further showcases the mesmerizing effects of penetration and diffusion. The resin and dye create intricate patterns resembling ink spreading in water, coral reef growth, or blood vessel networks. The organic colour flow creates depth and movement, akin to natural stone marbling or leaf veining. The pattern’s randomness and beauty may evoke microscopic bacterial cultures or the colour of the reflection of oil in the water.

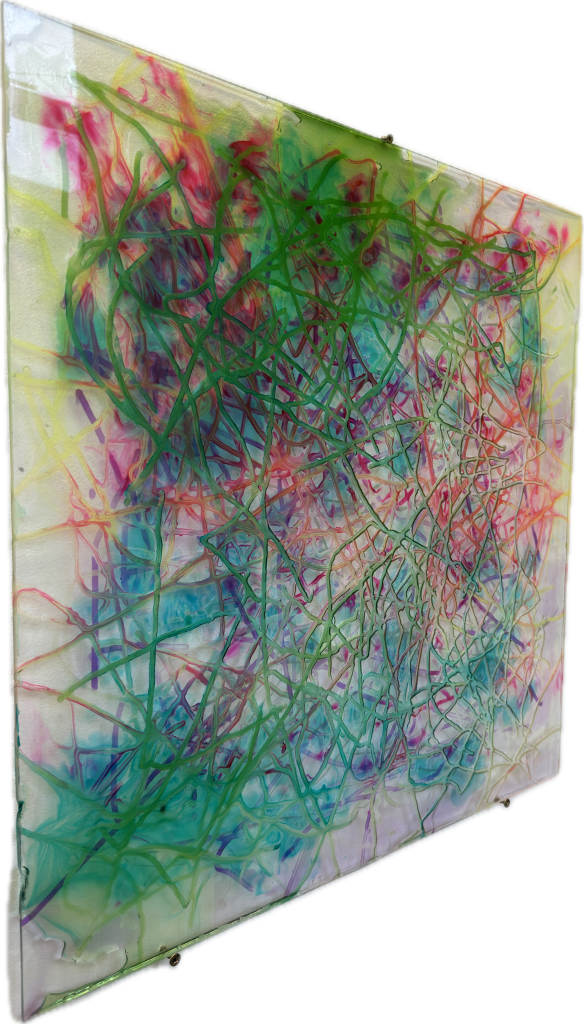
Here is the finished artwork. As you can see, multiple colors are interwoven, creating the blending and layering I envisioned. The color interplay creates entirely new shades, and when combined with the three-dimensional, intertwined lines, it effectively conveys the 3D effect I aimed for. The vibrant, complex colors and the depth from the resin-filled grooves give the piece a dynamic, textured look. The artwork demonstrates the success of the techniques in creating a harmonious and visually striking blend of color and form.
This image further showcases the mesmerizing effects of penetration and diffusion. The resin and dye create intricate patterns resembling ink spreading in water, coral reef growth, or blood vessel networks. The organic colour flow creates depth and movement, akin to natural stone marbling or leaf veining. The pattern’s randomness and beauty may evoke microscopic bacterial cultures or the fluid dynamics of oil and water.
